The instructions below demonstrate how to add or edit events.
IMPORTANT: It is your sole responsibility to ensure that you have the appropriate permissions to use any photographs, graphics, images or documents that you add to your website. Failure to do so could lead to prosecution from the owner of these materials or people featured within them. We cannot take responsibility for any materials that you add to your website, so if you have any doubts, do not use them.
You will first need to log in to your website. Next click on events, this will be on the menu on the left hand side of the screen, on mobile devices this will be under the ‘three bars’ icon. If you are adding an event, click ‘add new’ if you are editing an existing event click on the event in the list.
You will now see a number of fields:
- Event Title – This is the title for the event.
- Venue – This is optional, if you would like to specify a venue, add it here.
- All Day Event – This is optional, check this box if the event is all day. You then don’t need to specify times.
- Start Date – Enter the start date here. The format is DD/MM/YYYY.
- Start Time – Enter the start time here. This is in the 24 hour format (HH:MM). You can ignore this field if you have checked the all day box.
- End Date – Enter the end date here. The format is DD/MM/YYYY.
- End Time – Enter the end time here. This is in the 24 hour format (HH:MM). You can ignore this field if you have checked the all day box.
- Event Description – This is optional, if you would like to specify any additional information, put it here.
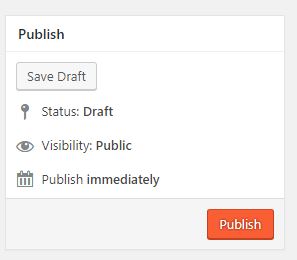
Once you are happy with what you have entered, click the ‘Publish’ button for a new event or ‘Update’ for an existing event.